Motion Graphics
Video Production
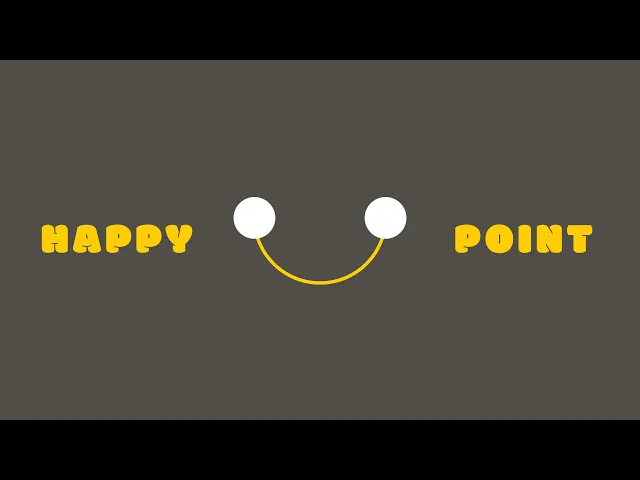
Happy Point good vibes video

TL;DR
Problem
During COVID-19, many people were surrounded by negativity and needed uplifting, authentic moments of joy.
Solution
Created Happy Point, a 2-minute motion graphics video combining smiley animations with real people’s smiles to spread positivity.
Process
Concept development & storyboarding → Graphic design in Illustrator → Photo integration → Animation & production in After Effects
Design Highlights
Circular smiley motif symbolizing happiness and calm
Bright yellow palette to evoke optimism
Blend of geometric shapes and authentic photos
Dynamic transitions and playful motion effects
Outcomes
Enhanced motion graphics and animation skills
Explored new effects and embraced creative “happy accidents”
Reconnected with friends through photo contributions
Reinforced the idea that sharing positivity brings it back in return
Why I created it
During COVID-19, many people were living in a pessimistic world. I felt it was more important than ever to share positive energy. By creating this video filled with happy faces, my goal was to spread optimism and contribute to making the world a little brighter.
How I created it
I combined geometric shapes with smiley faces and incorporated real people’s smiles. The process began with brainstorming animation ideas for the shapes and exploring ways to merge them with authentic photos. Once I refined the concept, I organized the ideas into a storyboard and moved into production, creating graphics and animations with Adobe Illustrator and After Effects.
Design concept
Research shows that circular shapes evoke feelings of happiness, peace, and relaxation—exactly the emotions I wanted to convey. As a result, I used the circle as the main shape, paired with the bright, optimistic colour yellow, which inspired the title Happy Point.
Authenticity was also essential. Rather than relying on staged stock images, I invited family and friends to contribute their own everyday smiling photos. These didn’t need to be high-resolution, but they had to be genuine.
The concept is simple: the smiley circle—“Happy Point”—travels across the world, radiating cheerful energy, connecting with both shapes and real people in different situations.
The storyboard
I followed my storyboard closely during production, but also discovered new opportunities to add engaging motion effects while editing. These additions enhanced the rhythm and overall dynamism of the final piece.
Video length: 2 minutes 6 seconds

↑ Storyboard scene #1-1 to #1-4
Changes (scene #1-1, #1-4)
Scene #1-1: Before the zoom-out, I added a brief 0.2-second smiley face graphic. It’s a small detail, but it makes the opening feel more polished and complete.
Scene #1-4: I applied Trim Paths effects to the text “HAPPY POINT,” giving it a more dynamic and engaging look.

↑ Storyboard scene #2 to #5-1
Changes (scene #3, #4, #5-1)
Scene #3 and #4: After creating scene #3 in After Effects, I realized the sequence would be more engaging if it followed the circle’s movement. To achieve this, I adjusted the scale and position values throughout scenes #3 and #4, making both feel more dynamic and alive.
Scene #5-1: Rather than showing a group of static sad squares, I added sluggish movements to highlight their lethargy and create a stronger contrast with the upbeat elements.

↑ Storyboard scene #5-2 to #7-1
Changes (scene #5-2, #6-1, #6-2)
Scene #5-2: I added subtle square patterns in the background to differentiate it from the dull backdrop in scene #5-1.
Scene #6-1: As in scene #5-1, I introduced sluggish movements to emphasize the characters’ lethargy.
Scene #6-2: Similar to scene #5-2, I added light background patterns. This time, I used triangles to complement the shapes featured in the scene.

↑ Storyboard scene #7-2 to #8-1

↑ Storyboard scene #8-2 to #11
Changes (scene #8-2)
Scene #8-2: I adjusted the duration of each photo to better match the background music and added a triangle transition into scene #9 to create a more engaging flow.

↑ Storyboard scene #12 to #14
Changes (scene #14-1, #14-2)
Scene #14-1: I applied Echo effects in blue and green to the yellow circle, showing the smiley squares (blue) and triangles (green) trailing behind. Similar to scenes #3 and #4, I adjusted the scale and position values to enhance the scene’s energy.
Scene #14-2: To make the text more vivid, I roughened its edges and added subtle Jiggly effects.

↑ Storyboard scene #15 to #18
Changes (scene #15 to #17)
Scene #15 to #17: I applied the same treatment as in scene #14-2, roughening the text edges and adding Jiggly effects for a more playful feel.

↑ Storyboard scene #19 to #21

↑ Storyboard scene #22 to #24
Challenges
Some of the animations and transitions I wanted to use were techniques I hadn’t applied in past projects. To make them work, I revisited tutorials, practised, and refined them until they felt right. The real challenge was adapting these techniques to fit my vision, which required a lot of tweaking and experimentation.
Gathering photo contributions also took time, since I reached out to friends individually. While it was a bit of a slow process, it turned into a meaningful way to reconnect with people during lockdown—something that added an unexpected layer of joy to the project.
Final result
Key takeaways
I learned that it’s not always necessary to study tutorials in detail upfront; revisiting them when I need to apply a technique is much more efficient. I also discovered the value of “happy accidents”—unexpected effects and techniques that emerged while experimenting. Keeping an open mind often leads to the most creative results. Most importantly, I was reminded that when you share positive vibes, you often receive them in return.
Fun facts
“Happy Point” isn’t just the title of this project—it also happens to be the name of one of the albums I enjoyed listening to while growing up.
What’s next?
This project strengthened my motion graphics skills and reminded me how rewarding it is to create something uplifting. I’d like to keep exploring motion techniques in future projects, finding new ways to experiment while continuing to share positive energy through design.


